Setting up a wireless pet containment system is a reliable way to keep your pets safe in your yard without the need for traditional fencing.
These systems consist of a wireless signal transmitter, and a receiver collar for your pet, and often come with boundary flags for training purposes.
By creating an invisible boundary around your property, the system ensures your pet stays within a designated area by sending a signal to the receiver collar when it approaches the boundary.
The installation process is generally straightforward and can be completed in less than a day.
You’ll start by setting up the transmitter in a central location to establish the perimeter. It’s essential to test the system thoroughly to ensure it’s functioning correctly before introducing your pet to the new boundaries.
Training your pet to recognize and respect these limits is a critical component of the setup process and typically takes a minimum of 14 days to ensure effectiveness.
As you train your pet, it’s crucial to ensure the receiver collar fits properly and that your pet responds to the system as intended.
Understanding how to use the collar and transmitter settings will allow you to customize the containment area and correction levels to suit the size and temperament of your pet.
In doing so, you’ll create a secure environment that allows your pet to enjoy outdoor time while granting you peace of mind.
Understanding Wireless Pet Containment Systems
When considering a wireless pet containment system, it’s crucial to understand both the technology that enables it and the advantages it offers over traditional fencing solutions.
This knowledge will ensure you make an informed decision for your pet’s safety and your peace of mind.
Technology Behind Wireless Containment
A wireless pet containment system uses a transmitter to emit a radio signal, creating an invisible boundary around your property.
This transmitter serves as the core of your pet area. Your pet wears a receiver collar that responds to the transmitter. When your pet approaches the edge of the designated pet area, the collar receives a signal.
It typically starts with a beep to warn your pet, followed by a static correction if the warning is ignored.
- Transmitter Range: The radio signal can cover a circular area of up to 90 feet in all directions from the base unit.
- Receiver Collar: If your pet crosses the boundary zone, typically set at 0.6 to 1 meter outside the pet area, the collar beeps and then delivers a static correction.
Benefits of Wireless vs Traditional Fences
Wireless pet containment systems offer several benefits compared to traditional fences:
- Versatility: They are capable of covering a large area without the constraints of physical fencing and can often be adjusted to fit specific yard sizes.
- Ease of Installation and Portability: Installation is usually less time-consuming than building a fence and can often be done in less than a day. Plus, the system is portable, making it ideal for taking on trips or moving to a new home.
- Minimal Landscape Impact: There is no need to dig or alter your yard’s landscape, which keeps your outdoor space aesthetically pleasing.
- Adaptability: Multiple base units can be used to create a larger containment area, and an unlimited number of pets with collars can be included in the system.
In terms of performance, wireless pet containment system reviews often emphasize these benefits, as well as the ease of training pets to respect the new boundaries.
For those with a larger property, options are available for wireless pet containment systems for large areas, ensuring that even those with extensive grounds can safely contain their pets.
Pre-Installation Considerations
Before installing a wireless pet containment system, it’s important to evaluate your property and pet needs.
This will ensure the system functions effectively and keeps your pet safely contained.
Assessing Your Landscape
To set up a Wireless Pet Containment System, first, assess your landscape for elements that could interfere with signal transmission.
Large metal objects and sloped land can disrupt signal strength. For a Friendly Pet Products Wireless Dog Containment System, which may be designed to cover a flat area, hills and dips could be problematic.
- Obstacles: Identify and possibly remove large metal obstructions.
- Terrain: Check for any steep slopes or uneven terrain.
Determining Boundary Area
With your landscape in mind, establish the containment area:
- Size: Measure the space where you want to create boundaries.
- Shape: Consider the circular radius that the Wireless Pet Containment System GPS provides; it will determine the shape of your pet’s roaming area.
A wireless dog fence system with GPS allows for setting up a more precise boundary area specific to the geography of your property.
Choosing the Right System for Your Pet
Ensure you select a system suited for the size and temperament of your pet:
- Weight Considerations: Systems like the PetSafe Wireless Pet Containment System may only be suitable for pets over 3.6 kg (8 lb).
- Correction Levels: Choose a system with adjustable correction levels for effective training without causing stress to your pet.
Remember, your pet’s safety and comfort are paramount when setting up a wireless containment system.
Setting Up Your Wireless Pet Containment System
Successfully setting up your wireless pet containment system ensures your pet’s safety and freedom within your defined boundaries. Here’s how you can install and test your system effectively.
Installing the Transmitter
Place your PetSafe transmitter in a weatherproof location, ideally at the center of your pet’s play area. To start:
- Choose a dry, indoor area: Avoid sheds or outdoor locations that expose the unit to moisture or extreme temperatures.
- Elevate the transmitter: Mount it on a wall with the provided screws or place it on a shelf to avoid metal interference.
Syncing the Collar Unit
For the collar unit to communicate with the transmitter:
- Ensure the collar is off before beginning.
- Turn on the transmitter, then the collar, and wait for a confirmation light or beep indicating the sync is successful.
Defining the Boundary
To establish the confines within which your pet can roam:
- Set the distance: Adjust the boundary control on the transmitter to the desired radius.
- Use boundary flags: Place these as temporary visual guides for your pet during the training phase. A distance of up to 90 feet in all directions can be achieved.
Testing the System
Before introducing your pet to the new boundaries:
- Check signal strength: Take the collar to the edge of the boundary and ensure it beeps, signifying it’s active.
- Inspect for weak spots: Walk around the boundary to verify there are no signal gaps or interference.
Following these steps will help create a safe and reliable containment area for your pet to enjoy freedom and your peace of mind.
Training Your Pet
When setting up a wireless pet containment system, training your pet is essential to ensure their safety and the effectiveness of the system.
Your pet will need time to understand where they can and cannot go, and this will be achieved through specific training techniques.
Introducing Your Pet to the System
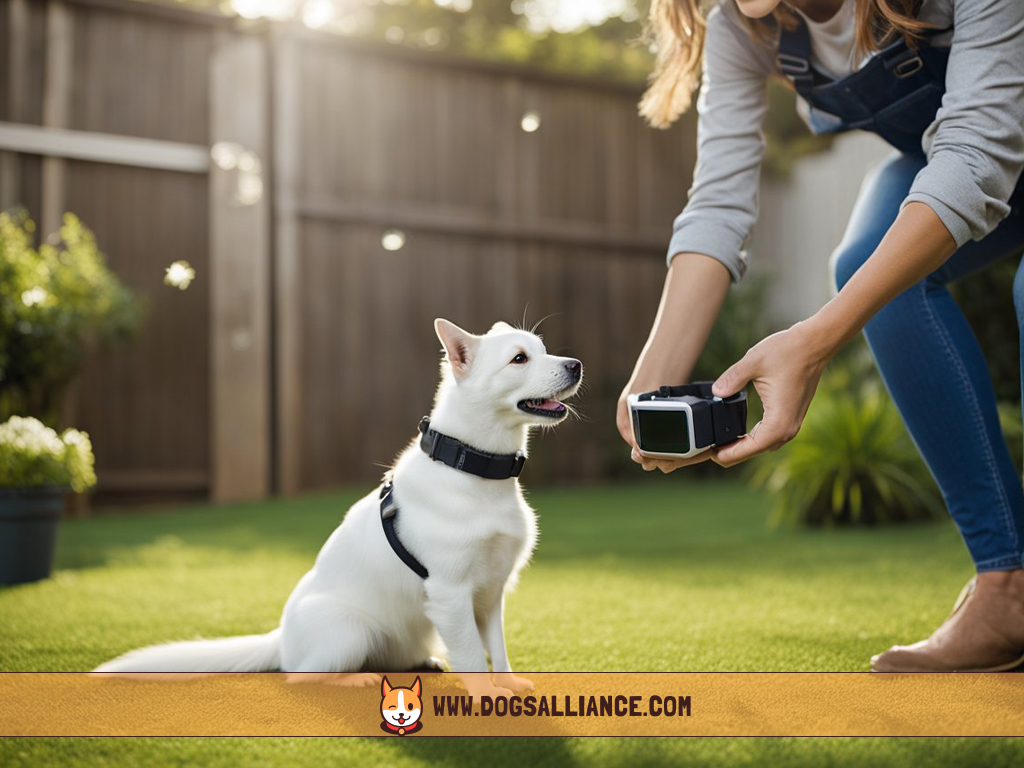
After installing your wireless pet containment system, begin by fitting the collar properly around your pet’s neck.
Ensure it’s not too tight or loose and that the contact points touch the skin. Then introduce your pet to the new boundaries.
Start with the collar in tone-only mode, and walk your pet on a leash, letting them hear the warning tone as they approach the boundary.
Use verbal commands and treats to praise your pet for retreating from the boundary.
- Fit the collar: Verify it’s snug yet comfortable.
- Use tone-only mode: Allow your pet to hear the warning as they near the boundary.
- Reward retreat: When your pet stops upon hearing the tone, reward them.
Establishing Boundaries with Training
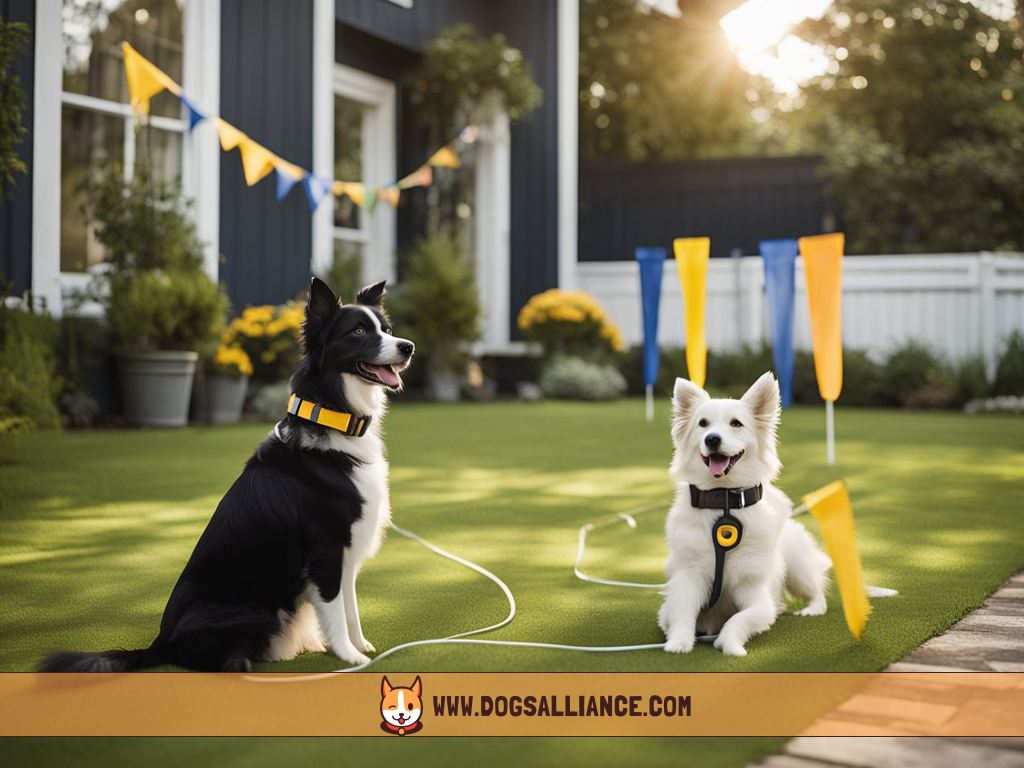
To reinforce the boundaries of the wireless system, place flags along the perimeter as visual cues.
Lead your pet around the boundary and use a command such as “Watch out!” every time they approach a flag.
As training advances, try the static correction feature at a low level, and increase the intensity only if your pet does not respond to the tone.
- Place flags: Use these as visual indicators of the boundary.
- Teach with commands: Introduce a consistent verbal cue when nearing flags.
- Introduce static correction: If necessary, cautiously apply static correction.
Reinforcement and Consistent Training
Consistency is key in reinforcing boundaries. Train several times a day for short periods, gradually increasing the time your pet spends in the boundary area.
Always end sessions on a positive note with play or treats. A consistent schedule over at least 14 days often results in the best outcome.
- Train daily: Short, frequent sessions are most effective.
- Use positive reinforcement: Always conclude with a reward.
- Maintain a schedule: Aim for a consistent training regimen over two weeks.
System Maintenance and Troubleshooting
Proper maintenance ensures your wireless pet containment system functions effectively and safely.
By routinely checking your system and understanding troubleshooting steps, you can quickly resolve common issues that may arise.
Routine Checks and Battery Replacement
Routine Checks: Regularly inspect the condition of the collar and base unit to ensure they are free from damage. Verify that the power light on the base unit is on, indicating it is receiving power.
Battery Replacement:
- Collar Battery: Replace the battery periodically, as a weak or dead battery is a common cause of system failure.
- How to Replace: Use a test light tool or a coin to gently twist open the battery compartment and replace the battery.
- Frequency: Check the collar battery level every month and replace as needed to ensure consistent operation.
Diagnosing Signal Issues
Signal Strength:
- Test: To test the signal strength, use the test mode on your collar. If the collar beeps or the test light tool flashes, the signal is strong.
- Interference: Large metal objects and electronic devices can interfere with the signal. Relocate the base unit away from such devices if interference is suspected.
Addressing Common Problems
No Correction: If your pet’s collar does not administer the correction when it should, check the following:
- Ensure the collar is fitted properly.
- Check that the collar has a functioning battery.
- Ascertain the boundary settings on the base unit are correctly configured.
False Correction: In the event your pet receives a correction without nearing the boundary:
- Verify the base unit is placed in a central location and on the first floor for maximum signal coverage.
- Check for and reposition away from potential signal obstructions or interference sources.
By following these maintenance tips and troubleshooting steps, you can maintain the effective operation of your wireless pet containment system and continue to keep your pet safe.
Advanced Features and Considerations
When setting up a wireless pet containment system, it’s important to explore the advanced features that can enhance your convenience and the safety of your pets.
Modern systems come with sophisticated functionalities like voice control integration, GPS tracking for broader coverage, and capabilities to manage multiple pets simultaneously.
Integrating Voice Control
Your wireless dog fence system may offer voice control through integration with smart home assistants.
With voice control, you can activate or deactivate the containment system hands-free, which can be particularly convenient when you are occupied with other tasks.
This feature usually requires compatibility with devices like Amazon Alexa or Google Home. To set this up:
- Ensure your containment system is “smart” or Wi-Fi enabled.
- Follow the manufacturer’s instructions to connect the system to your smart home device.
- Use voice commands to control the system, such as “Activate pet containment” or “Deactivate pet fence.”
GPS Functionality for Larger Areas
For larger outdoor spaces, a wireless dog fence system with GPS is ideal. GPS-enabled systems do not require the installation of a physical fence or underground wires.
Instead, they use satellite technology to create virtual boundaries. Here’s how it benefits you:
- Coverage: GPS can cover more extensive areas, often up to hundreds of acres.
- Accuracy: Utilize GPS for precise boundary setting, ensuring your pets stay within the designated zone.
- Portability: Easy to take with you and set up on the go for vacations or trips.
Multiple Pet Management
Managing multiple pets is made simpler with systems that allow for the addition of extra collars synced to a single base unit.
Look for these capabilities in your system to ensure proper management of all your pets:
- Simultaneous Sync: Ensure the system can handle multiple collars at once.
- Individual Correction Levels: Some systems have collars that can be set to different static correction levels, tailored for each pet’s size, temperament, and training needs.
Make sure to validate your system’s specifications for the maximum number of pets it can monitor and manage.
Frequently Asked Questions
Navigating the setup and maintenance of a wireless pet containment system can bring up several questions.
This section aims to provide you with clear and concise answers to some of the most common queries.