Setting up a wireless dog fence can be an excellent way to keep your furry friend safe and secure while still giving them the freedom to roam and play.
Unlike traditional fences, wireless dog fences don’t require any physical barriers, making them an excellent option for those who don’t want to obstruct their views or disrupt their landscaping.
However, setting up a wireless dog fence can be a bit tricky, especially if you’ve never done it before. Here are some tips to help you get started.
The first step in setting up a wireless dog fence is to choose the right system for your needs. There are many different types of wireless dog fences available, each with its own set of features and benefits.
Some systems are designed for small yards, while others are better suited for larger properties.
You’ll also want to consider factors like the size and breed of your dog, as well as any special considerations like steep hills or dense foliage.
Once you’ve chosen the right system, you’ll need to install it properly to ensure that it works as intended.
Understanding Wireless Dog Fences
If you’re looking for a way to keep your dog safe and contained within your yard without physical fences, a wireless dog fence may be the solution you need.
Here is what you need to know about wireless dog fences.
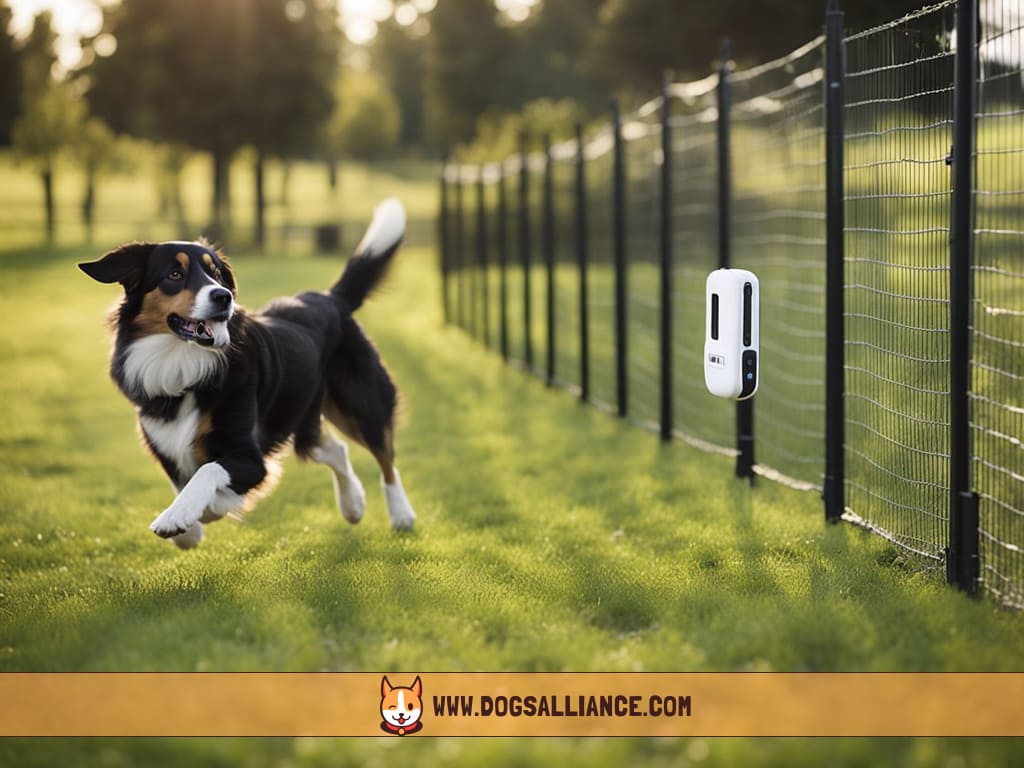
How Does a Wireless Dog Fence Work?
A wireless dog fence works by using a transmitter that sends out a radio signal to a receiver collar worn by your dog.
The transmitter creates a circular boundary around your yard, and the receiver collar emits a warning tone when your dog approaches the boundary.
If your dog continues to approach the boundary, the collar will emit a static correction to deter your dog from leaving the designated area.
One of the benefits of a wireless dog fence is that it can be easily installed without the need for digging or burying wires.
However, it’s important to note that the range of the transmitter can be affected by obstacles such as trees and buildings, so it’s important to choose a location for the transmitter that provides the best coverage for your yard.
In addition, wireless dog fences are not suitable for all dogs.
Dogs that are prone to aggression or have a high pain tolerance may not be deterred by the static correction and may continue to leave the designated area.
It’s important to train your dog to understand the warning tone and static correction before allowing them to use the wireless dog fence.
Overall, a wireless dog fence can be an effective way to keep your dog contained within your yard without the need for physical fences.
However, it’s important to understand how they work and to choose the right system for your dog’s needs.
Pre-Installation Considerations
Before installing a wireless dog fence, there are several factors to consider to ensure a successful installation.
This section covers the most important pre-installation considerations to keep in mind.
Choosing the Right System
When choosing a wireless dog fence system, there are several factors to consider.
First, consider the size of your property and the number of dogs you have. Some systems are designed to cover larger areas and support multiple dogs, while others are better suited for smaller properties and fewer dogs.
Another important factor to consider is the type of correction the system uses. Some systems use a static shock, while others use a vibration or tone correction.
It’s important to choose a system that is appropriate for your dog’s temperament and training needs.
Determining the Boundary Area
Before installing a wireless dog fence, you’ll need to determine the boundary area where you want to contain your dog.
This can be done by walking the perimeter of your property and marking the boundaries with flags or other markers.
It’s important to ensure that the boundary area is free of obstacles and other hazards that could interfere with the system’s signal.
If there are areas where the signal may be weak or blocked, you may need to adjust the boundary or consider installing additional transmitters.
Assessing Installation Costs
The cost of installing a wireless dog fence can vary depending on several factors, including the size of your property, the number of dogs you have, and the type of system you choose.
In general, wireless dog fences are less expensive than traditional fences, but the cost can still add up.
Before installing a wireless dog fence, it’s important to assess the installation costs and budget accordingly.
You may also want to consider hiring a professional installer to ensure that the system is installed correctly and that your dog is properly trained to use it.
In conclusion, choosing the right system, determining the boundary area, and assessing installation costs are all important pre-installation considerations when setting up a wireless dog fence.
By keeping these factors in mind, you can ensure a successful installation and provide your dog with a safe and secure containment system.
If you’re unsure about any aspect of the installation process, don’t hesitate to seek advice from a professional installer or your veterinarian.
How To Set Up A Wireless Dog Fence?
When it comes to setting up a wireless dog fence, there are a few important steps to follow to ensure that it works properly.
In this section, we will walk you through the process of setting up your wireless fence, including installing the transmitter, syncing the collar units, and defining the boundary.
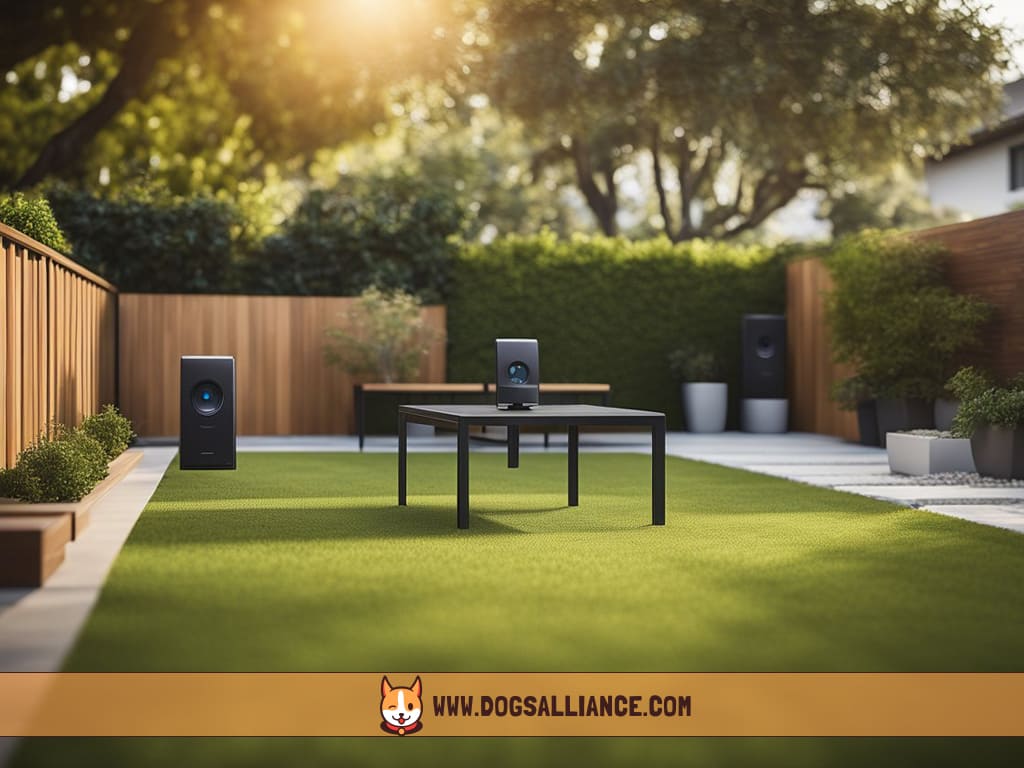
Installing the Transmitter
The first step in setting up your wireless fence is to install the transmitter.
The transmitter is the central unit that sends out the signal to create the boundary for your dog. To install the transmitter, follow these steps:
- Choose a central location for the transmitter. This should be a place that is easy to access and close to a power outlet.
- Plug in the transmitter and turn it on.
- Adjust the settings on the transmitter to match the size of your yard and the needs of your dog.
Syncing the Collar Units
Once you have installed the transmitter, the next step is to sync the collar units to the system.
The collar units are what your dog will wear and will receive the signal from the transmitter to keep them within the boundary.
To sync the collar units, follow these steps:
- Turn on the collar units and make sure they are fully charged.
- Press the sync button on the transmitter.
- Press the sync button on each collar unit until they are all synced to the system.
Defining the Boundary
The final step in setting up your wireless fence is to define the boundary for your dog.
This is done by adjusting the settings on the transmitter to create a circular boundary around your yard. To define the boundary, follow these steps:
- Walk around the perimeter of your yard with the collar unit in hand.
- Adjust the settings on the transmitter to create a circular boundary that covers your entire yard.
- Test the boundary by walking around the perimeter with the collar unit. Adjust the settings as needed to ensure that the boundary is working properly.
By following these steps, you can set up your wireless dog fence and keep your furry friend safe and secure within the boundaries of your yard.
Whether you are setting up a Wiez, JustPet, or Aweec wireless dog fence, these steps will help you get started on the right foot.
Training Your Dog
Once you have successfully installed your wireless dog fence, it is important to train your dog to use it properly.
Training your dog will help them understand the boundaries of the fence and prevent them from escaping.
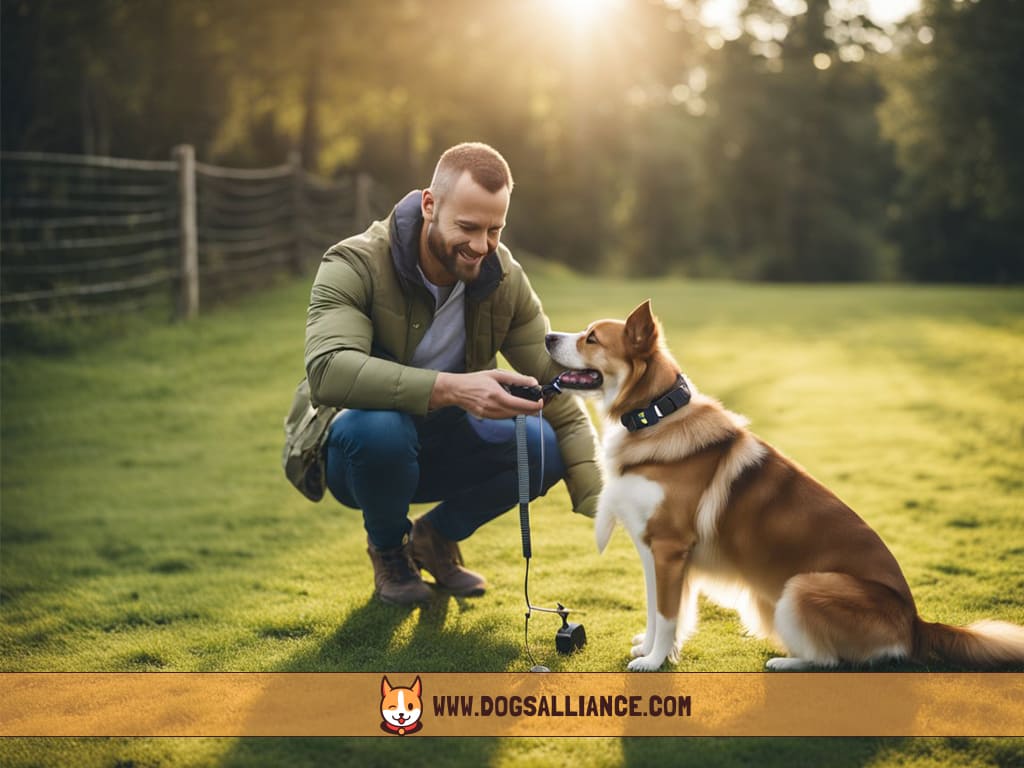
Introducing Your Dog to the Fence
Before starting the training process, gradually introducing your dog to the fence is important.
Begin by turning on the fence and allowing your dog to explore the area without any correction.
This will help your dog get familiar with the boundary flags and the warning beep that sounds when they approach the boundary.
Using Training Flags
Training flags are an essential tool for training your dog to use the wireless fence. These flags are placed along the boundary line to help your dog understand where the boundary is.
Start by placing the flags along the boundary line and allowing your dog to approach them. When your dog approaches the flag, they will hear a warning beep.
Use this opportunity to teach your dog to turn around and retreat when they hear the beep.
Conducting Controlled Training Sessions
Once your dog is familiar with the boundary flags, it is time to start conducting controlled training sessions.
During these sessions, you will use a leash to guide your dog towards the boundary line.
When your dog approaches the boundary, they will hear a warning beep. Use this opportunity to teach your dog to turn around and retreat when they hear the beep.
Repeat this process several times until your dog understands the boundaries of the fence.
In conclusion, training your dog to use a wireless fence is an important step in keeping them safe and secure.
By following these steps and using training flags, you can help your dog understand the boundaries of the fence and prevent them from escaping.
Maintenance and Troubleshooting
Regular System Checks
To ensure that your wireless dog fence is working properly, it’s important to perform regular system checks.
This will help you catch any issues early on and prevent them from becoming bigger problems. Here are a few things you should check regularly:
- Check the batteries in the collar to ensure they are charged and functioning properly. Replace them as needed.
- Walk the perimeter of your fence to make sure there are no breaks or gaps in the boundary line.
- Test the signal strength at various points along the boundary line to make sure it is consistent.
- Check the transmitter to make sure it is functioning properly and there are no error messages.
Performing these checks regularly will help you catch any issues early on and keep your wireless dog fence working properly.
Addressing Signal Issues
If you notice that the signal strength is weak or inconsistent, there are a few things you can do to address the issue:
- Move the transmitter to a more central location in your home. This will help ensure that the signal is reaching all areas of your yard.
- Adjust the boundary line to make it narrower. This will help concentrate the signal and make it stronger.
- Check for any interference from other electronic devices in your home. Move these devices away from the transmitter to reduce interference.
By addressing these issues, you can improve the signal strength and ensure that your wireless dog fence is working properly.
What to Do if Your Fence is Not Working?
If you’re having issues with your wireless dog fence, there are a few things you can do to troubleshoot the problem:
- Check the batteries in the collar to ensure they are charged and functioning properly.
- Walk the perimeter of your fence to make sure there are no breaks or gaps in the boundary line.
- Test the signal strength at various points along the boundary line to make sure it is consistent.
- Check the transmitter to make sure it is functioning properly and there are no error messages.
If you’re still having issues after performing these checks, contact the manufacturer for assistance.
They may be able to help you troubleshoot the problem or provide you with a replacement unit if necessary.
Additional Tips and Advice
Ensuring Safety and Compliance
When setting up your wireless dog fence, it’s important to ensure that you comply with local regulations and safety standards. Here are some tips to keep in mind:
- Check with your local authorities to see if there are any specific regulations regarding the use of wireless dog fences in your area.
- Make sure that the fence is installed in a safe location away from any potential hazards, such as roads or bodies of water.
- Always supervise your dog when they are outside and ensure that they are not exhibiting any signs of distress or discomfort while wearing the collar.
- Regularly check the collar to ensure that it is properly fitted and functioning correctly.
Optimizing Fence Performance
To ensure that your wireless dog fence is as effective as possible, here are some tips to optimize its performance:
- Make sure that the collar is properly fitted to your dog’s neck and that the contact points are making good contact with their skin.
- Test the collar’s range to ensure that it covers the entire area that you want to contain your dog in.
- Regularly check the battery level of the collar and replace it as needed to ensure that it is always functioning correctly.
- Consider using training flags to help your dog learn the boundaries of the fence more quickly.
- If you have multiple dogs, make sure that each dog has their collar and that they are set to different frequencies to prevent interference.
By following these tips, you can ensure that your wireless dog fence is set up safely and effectively to keep your furry friend contained and happy.